Getting Started
The easiest way to start with Lore is to open the TUI and follow the welcome flow.
Most people start in the TUI. If you prefer commands, you can also use lore create or lore init.
1. Install Lore
npm install -g @lorehq/cli2. Launch Lore
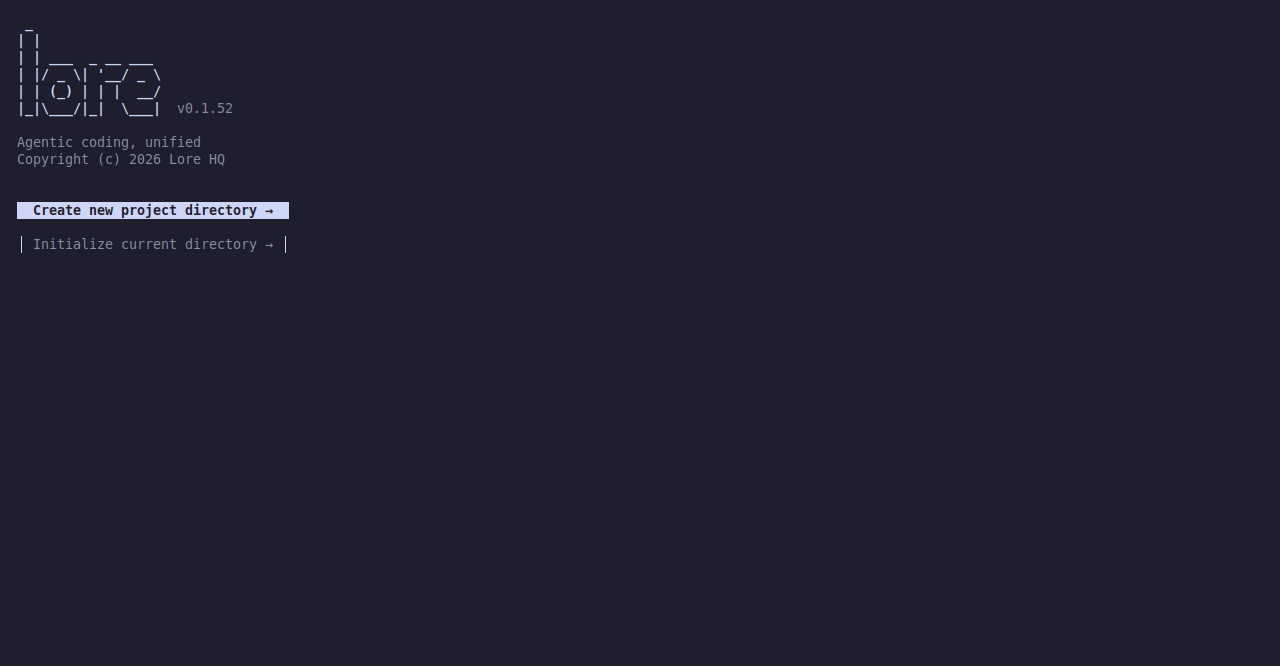
loreIf you are outside a Lore project, Lore opens the welcome flow instead of the full dashboard.
3. Choose a Path
Create new project directoryInitialize current directory
Choose Create new project directory if you want Lore to make a new folder for the project.
Choose Initialize current directory if you already have a project and want to use Lore in it.
4. Enter a Name If Needed
If you are creating a project, Lore asks for a name before moving on.
The TUI shows the target path while you type so you can see where the project will be created.

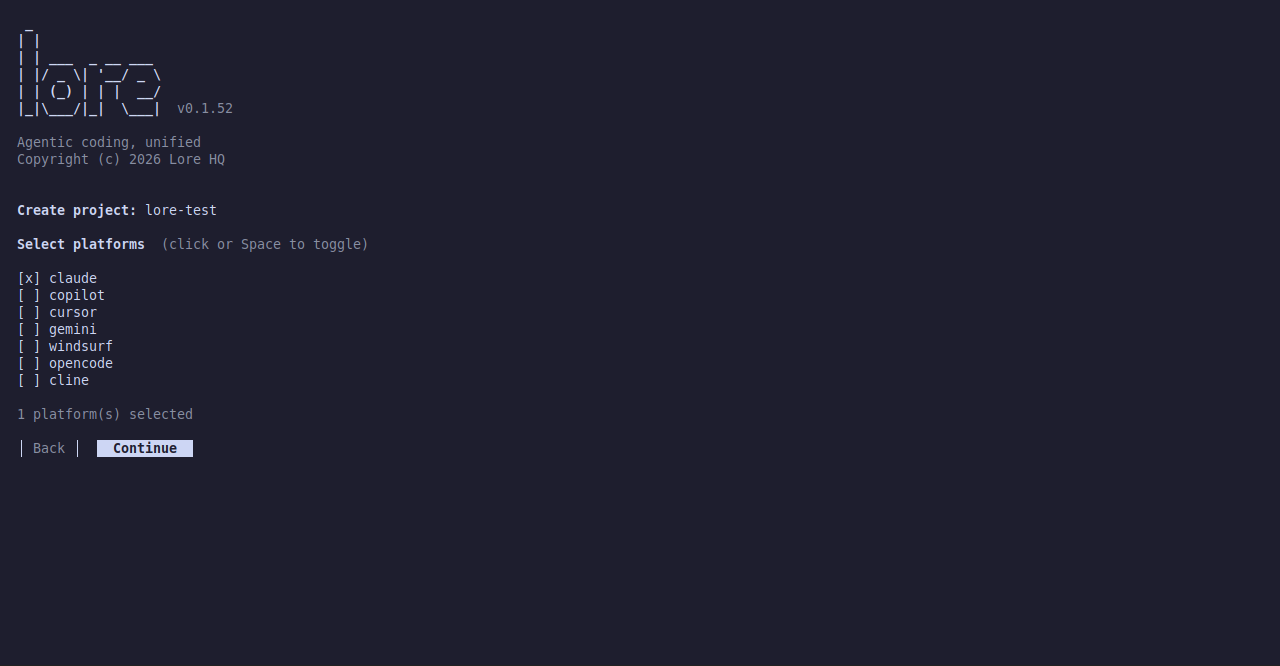
5. Select at Least One Tool
Before Lore creates or initializes the project, select at least one supported tool.
This is part of setup, so you do not need a separate step later just to make the project usable.
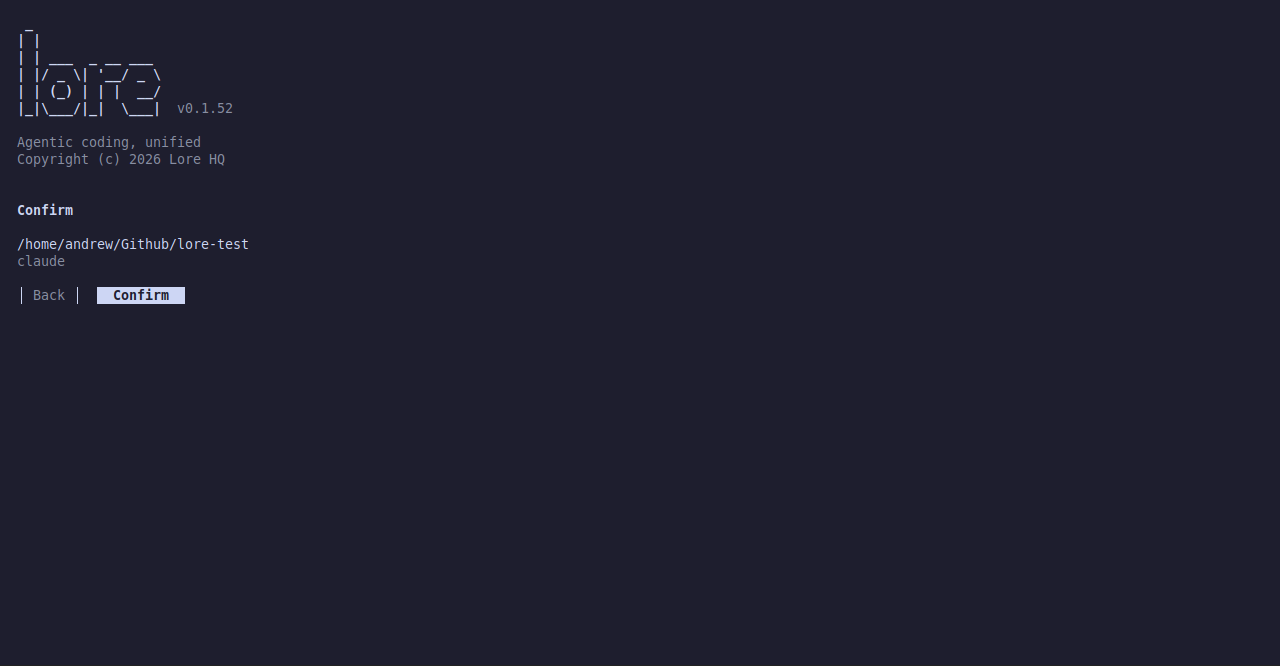
6. Confirm the Setup
Lore shows a final confirmation screen with the target path and your selected tool or tools.
This is the last checkpoint before setup completes.
7. Finish the Flow
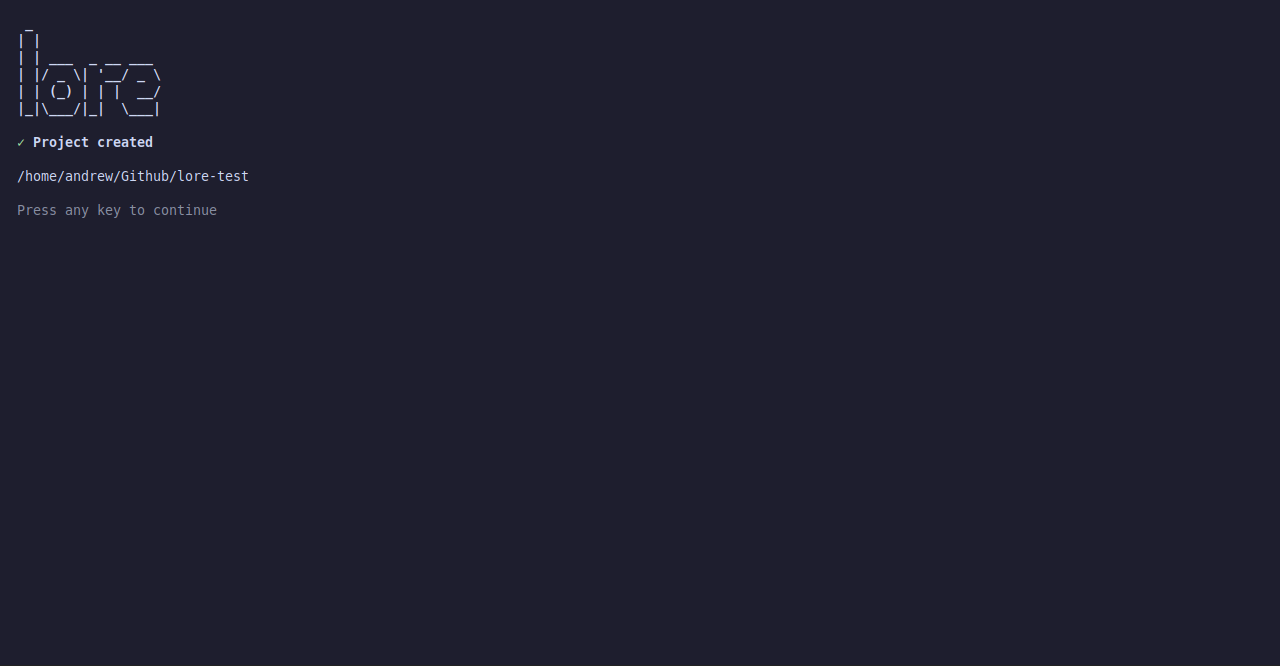
After the flow completes, Lore is ready to use with the tools you selected.
If you created a new project, Lore shows a success screen with the new path.
- Press any key to continue into the full TUI.
- Press
Ctrl-Cif you want to stop there.
If you initialized the current directory, no extra directory change is required.
Command Line Alternative
If you prefer commands instead of the welcome flow:
lore createcreates a new projectlore initsets up the current project
For most people, the TUI is the easiest place to start.